Article also available in other languages

For some, the Colt 1911 Government in .45 ACP caliber is “the” pistol by definition.
For others, it is an object to own, appreciating the pistol’s fine craftsmanship, aesthetics or historical importance. Although it was designed over 100 years ago, the Colt Government is still an object of worship among its fans and in spite of its age, is still a very usable weapon for home and personal self-defense as well as unrivalled in precision shooting and some shooting sports specialties. Although, some know-all “Gunslingers” whisper among themselves a motto that should not be all that easily dismissed: "show your friends a Colt, and show your enemies a Glock".
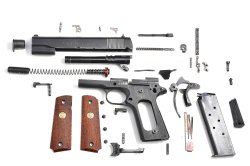
The Colt 1911 has many advantages: accuracy, a very effective caliber, reliability- once a competent tuning has been performed on the gun- , excellent ergonomics. In our opinion, its defects are its considerable weight, lesser firepower than all other semiautomatic handguns based on double stacked magazines, and its size.
Elaborating on the size, we must mention that the 1911 is a full size handgun originally designed for military open carry use.
The mechanics involves few parts, and is therefore apparently and deceivingly simple. In reality, the Colt Browning system requires much more accurate and careful machining than most polymer framed guns so trendy today that use simplified locking systems. The 1911’s locking system, based on locking lugs on the barrel mated to locking recesses on the ceiling of the slide, must be perfectly machined. The barrel link must also work with very strict dimensional tolerances to ensure precise and reliable operation, avoiding premature wear or breakage of parts.

Often first time purchasers of 1911 system based handguns complain that their guns experience recurring malfunctions or failures.
These can occur for a number of reasons, all solvable with some care by the experienced gunsmith or owner that knows how and where to work.
It is also important to pay attention to the ammunition to be used.
If “Hardball” factory ammunition, the standard 230-grain “hardball” round with a round nose profile, full metal jacket bullet is used, it should not give problems. All other loadings, using truncated cone profile, expansive or hollow point bullets, may require an accurate polishing of the feed ramp, and all sharp edges removed and round beveled where needed.
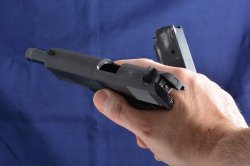
In order to improve operation, the extractor claw should also be accurately cleaned, removing burrs and tuning it to reduce interference to the firing cycle. This operation requires a certain amount of skill.
Besides these preventive measures, we recommend that you purchase the highest quality magazines you can afford, and thoroughly test each magazine to be sure of its reliability.
The mechanics of the 1911 handgun exhibits some critical points.
The small tube that houses the manual safety and slide stop spring (called Plunger Tube) is mounted to the frame using two rivets that, over time and extensive use, tend to come loose. Other parts are subject to wear and failure, i.e. the three-pronged sear spring, the barrel link, and the barrel bushing - especially if the bushing develops backlash. It must be noted that the failure of any part that make up a firearm is a common occurrence in any brand and model. No firearm is exempt from these problems. The only guns that don’t ever break down are those left sitting in a safe.
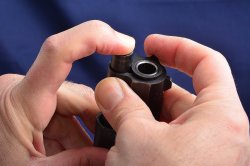
Due to reduced dimensional tolerances of the firing chamber or to badly sized bullets, the reloader may find necessary to use a “factory crimp” die, a special die that resizes the complete reloaded cartridge to optimal specs, ensuring a reliable firing cycle.
The mainspring must be controlled often, especially by those users that carry the Colt 1911 Cocked and Locked for self-defense, for any sign of strain that could reduce the spring reliability.
To avoid malfunctions, our last advice is to keep the handgun always clean and well lubricated, without exceeding with the oil. These notes should be enough to highlight the fact that knowing how to disassemble our 1911 Government, at least to Field disassembly level, is necessary at any rate.
We will never tire to repeat it, before stripping down any firearm, even though we’re sure that we checked it five minutes earlier, we need to make sure once again that it is unloaded and that ammunition is safely stored.
We will never tire to repeat it, before stripping down any firearm, even though we’re sure that we checked it five minutes earlier, we need to make sure once again that it is unloaded and that ammunition is safely stored.
Let us start by removing the magazine and pulling back the slide, taking care to push up the slide stop lever so the slide stays open. Check visually that the firing chamber is empty.
Done? At this point, we will need few tools, but they must be the right ones. A correctly sized roll pin punch set and screwdriver are the only tools you will need to disassemble the 1911. Some Match or custom models that have very tight tolerances may need the Barrel Bushing wrench to rotate the bushing.
Once we are doubly sure the gun is unloaded, we can start taking apart the 1911. At the beginning of the field stripping procedure, it is advisable to allow the hammer to fall down, to avoid accidentally pressing the trigger and causing the hammer to fall: mainly not to prevent dry firing, but rather that, during the unusual manipulation required by the disassembly sequence, the accidental hammer falling could bite the flesh of our hands causing injury.
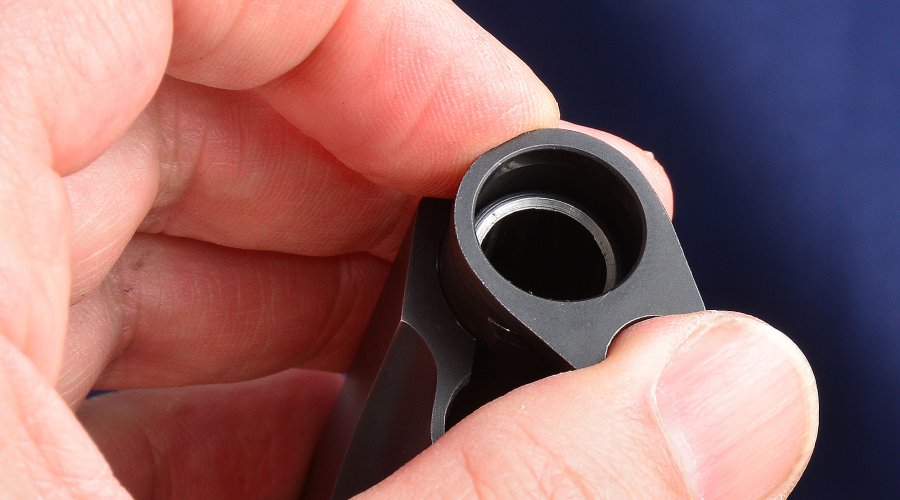
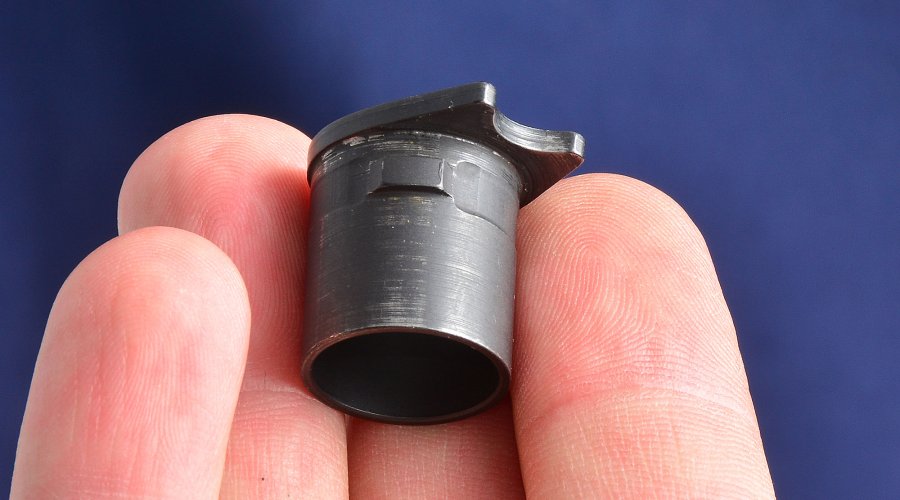
The Colt Government’s mechanical action, compared to more recent models, require a few additional steps to disassemble, and in some cases requires the previously mentioned barrel bushing wrench, to rotate the bushing that holds in place the recoil spring plug.
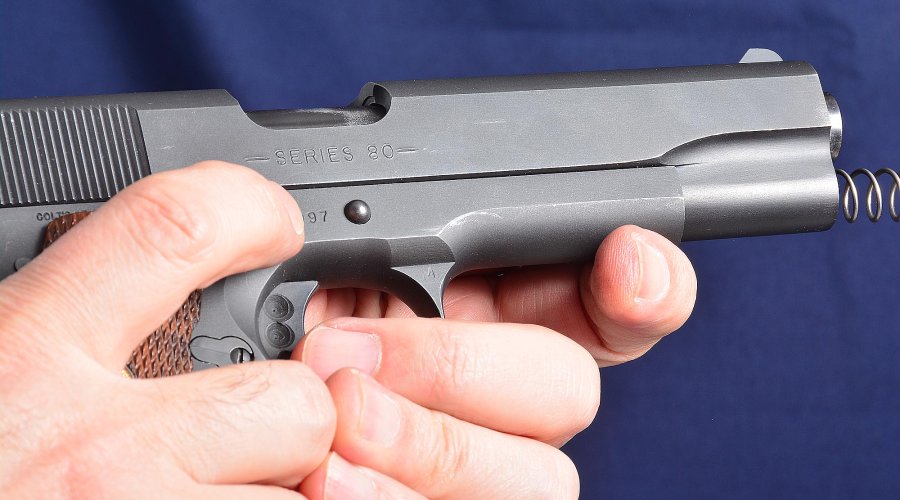
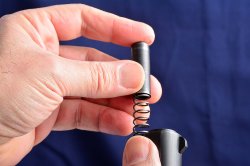
In the case of the pistol we used to illustrate this article (a Colt Series 80), this can easily be done with our bare hands, without the bushing tool, so all we need to do is to press the recoil spring plug to release the barrel bushing which can then be twisted clockwise on its axis.
Do take care to mind the recoil spring plug, as it is under this quite powerful spring’s load, and at this stage could slip from our fingers and jump away. Safety glasses are mandatory when working with firearms, to prevent eye injury from both harsh chemical spills and uncontrolled springs. The recoil spring plug can be removed from the end of the recoil spring.
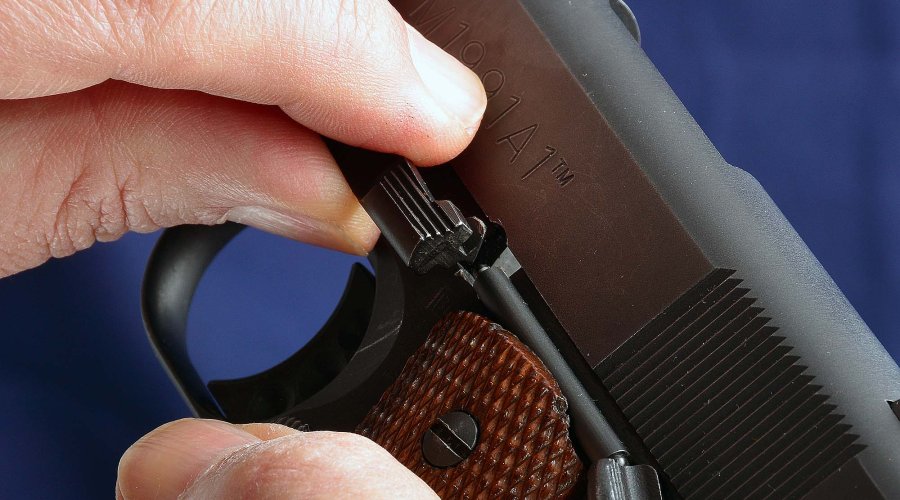
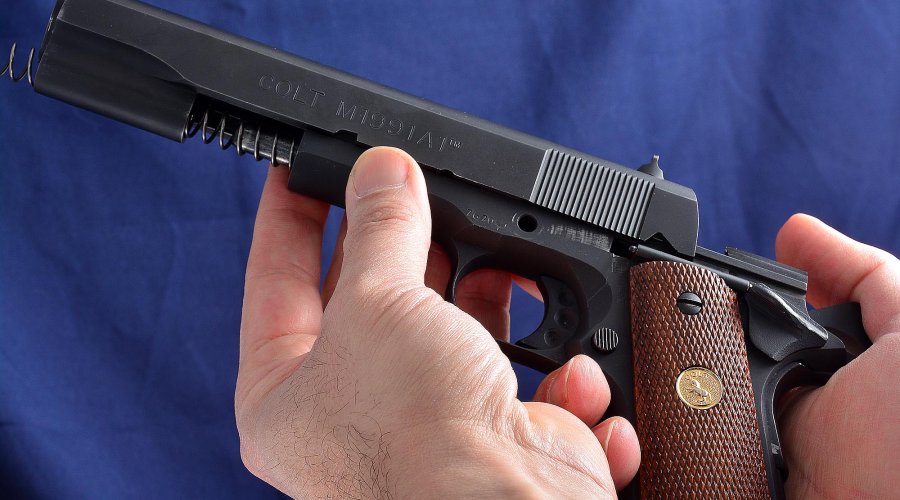
Now it’s time to fully cock the hammer and pull back the slide, until the slide stop lever end aligns to match the small semicircular notch cut on the lower left side of the slide.
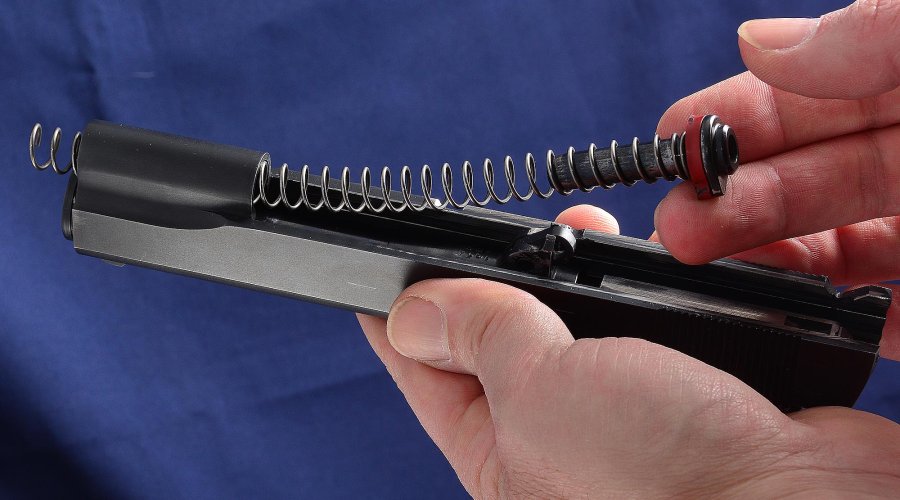
Keeping the slide in this position, press the slide stop lever shaft end that sticks out from the right side of the frame. It will pop out a couple millimeters, and we will be able to easily grab it and pull it off completely from the frame. The slide can now be removed from the frame. Follow by removing the recoil spring and spring guide rod.
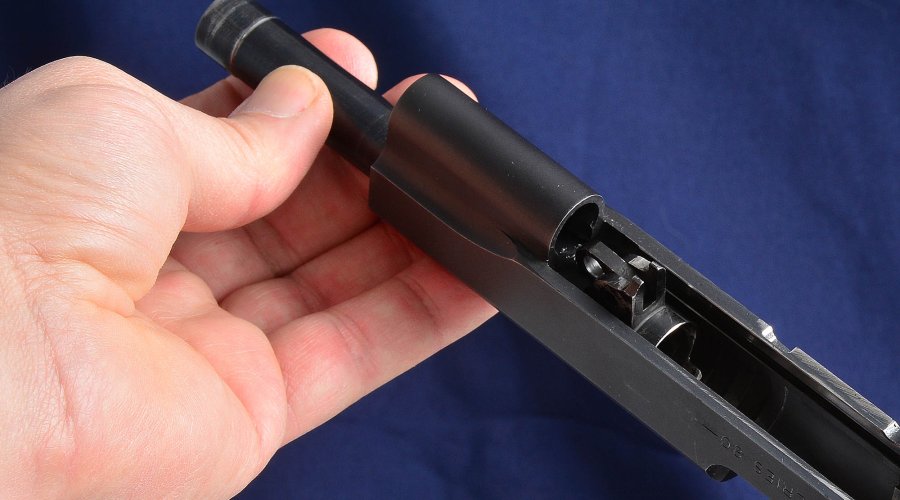
We can now remove the barrel bushing by twisting it anticlockwise and sliding it out from the muzzle end of the slide.
Finally, we can remove the barrel from the slide by pulling it from the front, making sure the barrel link is folded against the barrel itself.
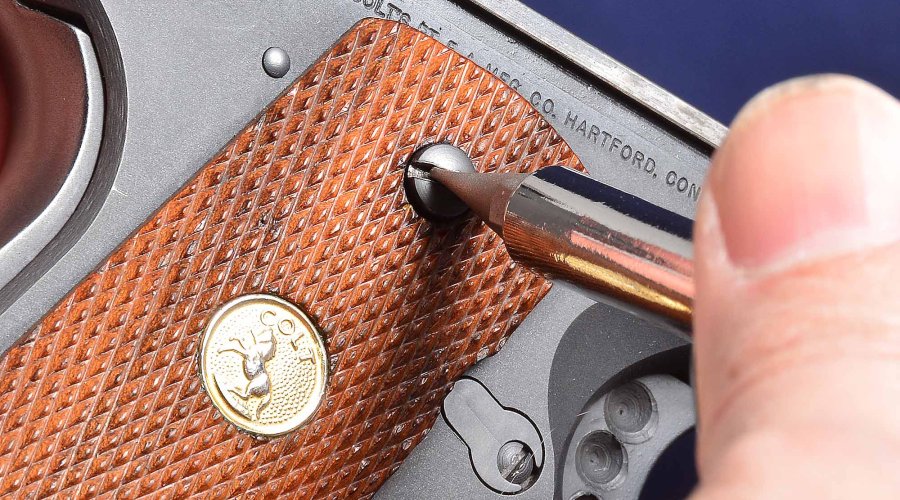
Once we have completed field stripping the pistol, we can continue by removing the grip panels and safely store them off the workbench. This operation is not required but your valuable vintage walnut grips could be scratched or otherwise damaged by sharp screwdrivers, punches or aggressive chemicals.
So we continue with the disassembly of the internal slide parts of this 1911 which includes the automatic firing pin safety update introduced with the Colt Series 80 models.
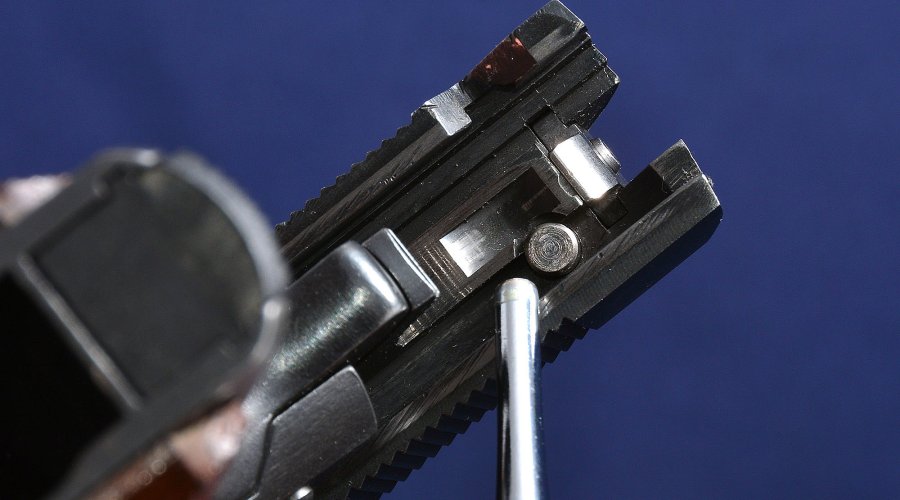
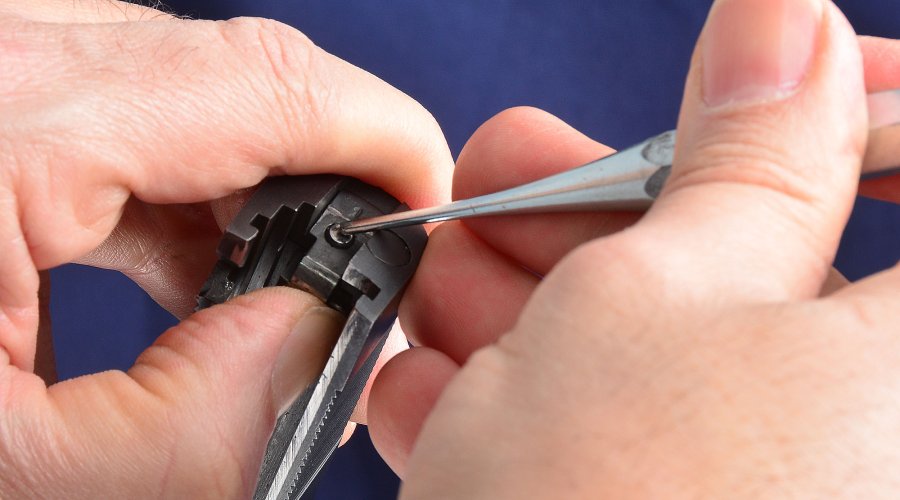
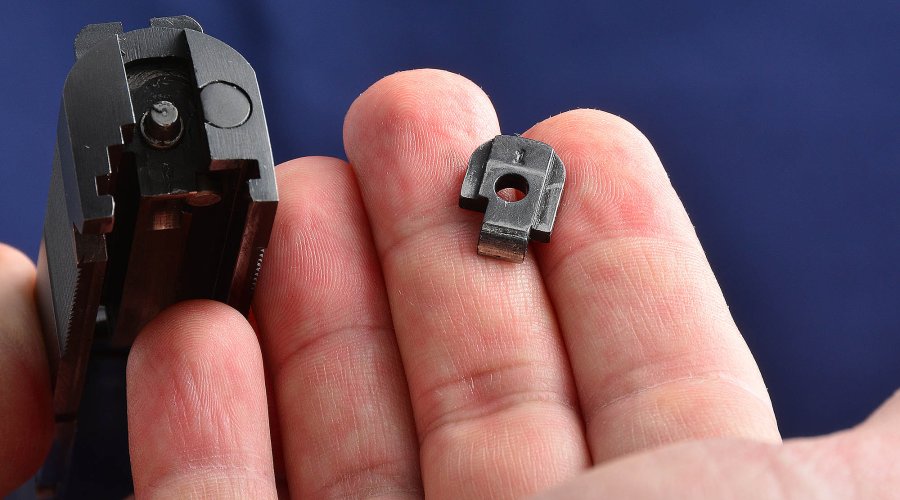
With the help of a roll pin punch, we push in the rear end of the Firing Pin and the Firing Pin Lock Plunger, so that the rear plate is free to slide out of its recess.
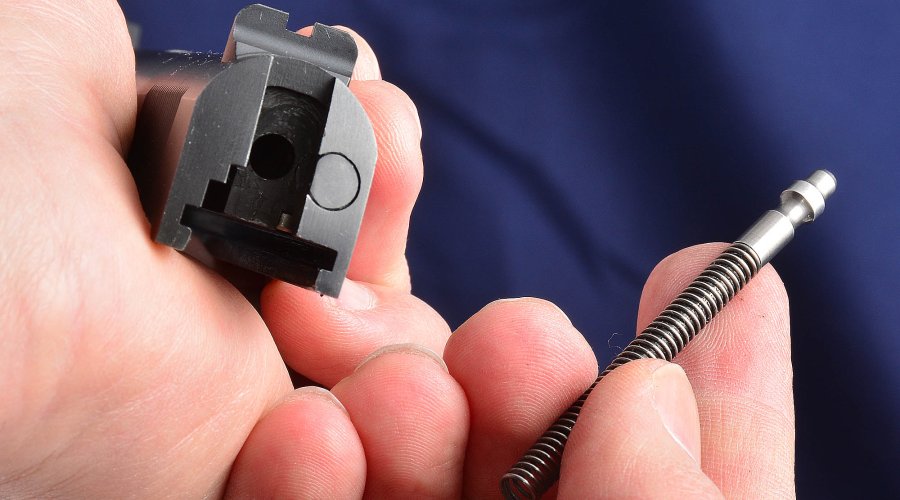
Press the Firing Pin Lock Plunger to allow removing the firing pin. Once again, we must be careful not to allow the firing pin to fly away under its spring tension, covering the rear of the slide with our hand.
In those pistols that do not feature the firing pin automatic safety, the disassembly of the firing pin is much easier, just remove the rear plate with a punch and pull out the firing pin and its spring.
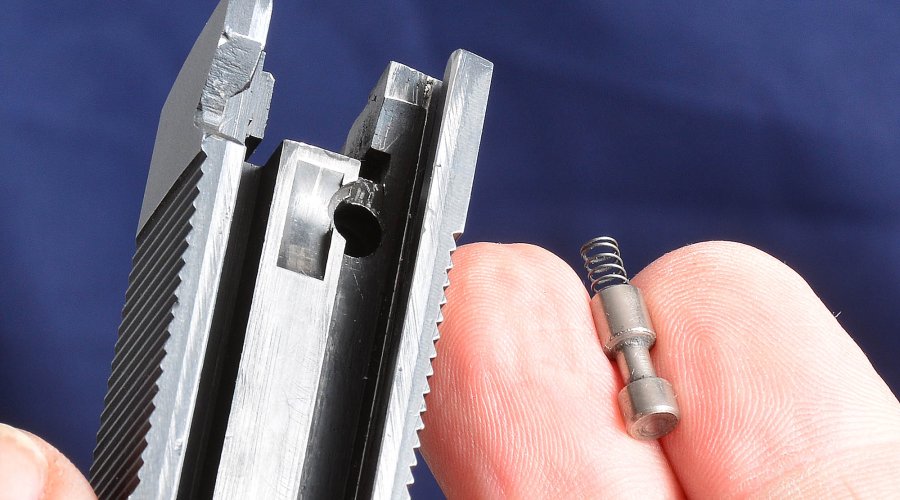
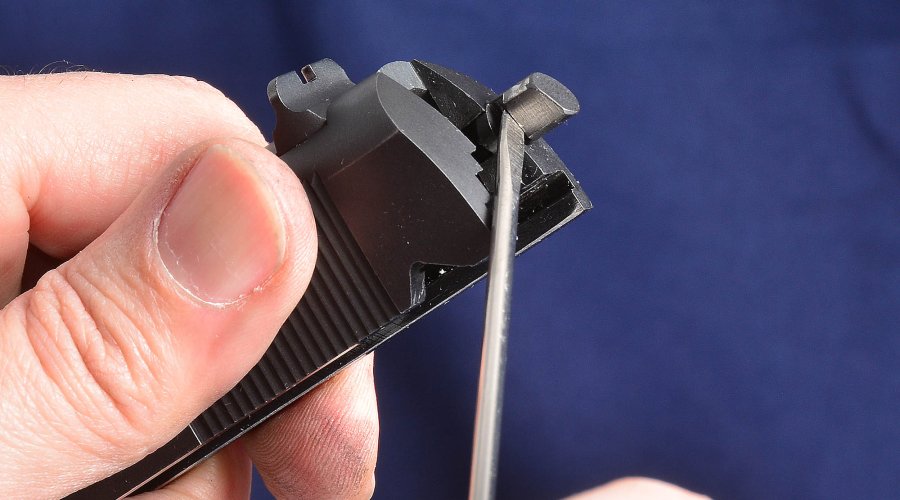
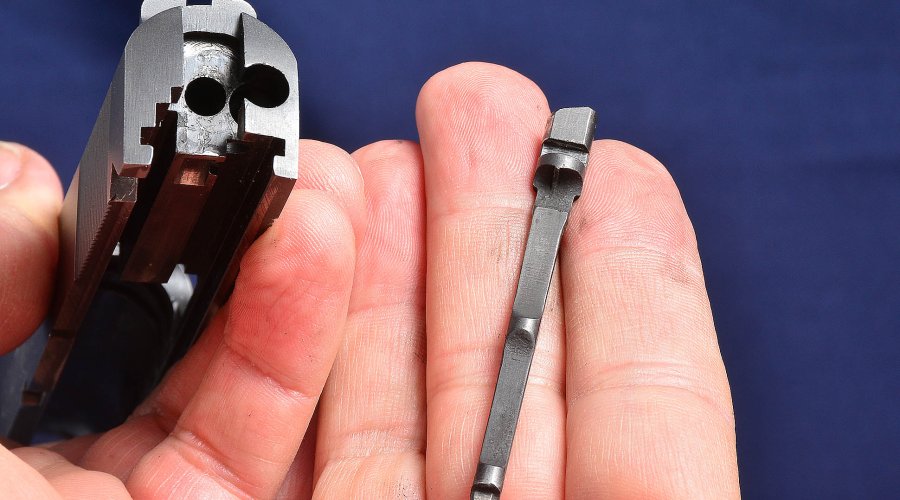
Once the firing pin has been removed, pull slightly back the extractor with a screwdriver to free the Firing Pin Lock Plunger and its small spring. These parts are very small, so be careful not to lose them. With the same screwdriver, we can remove the extractor from its housing.
We are going to describe the more detailed frame disassembly, beginning with the removal of the main spring housing, with the help of a suitable size roll pin punch.
This operation must be carried out with the hammer down, to release tension in the main spring. Do not just press the trigger! Allow the hammer to slowly fall forward holding it with the fingers of your left hand.
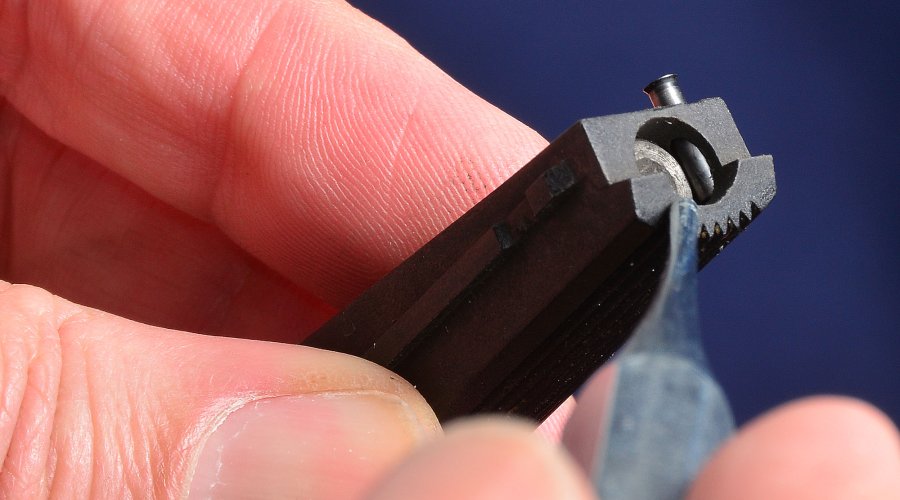
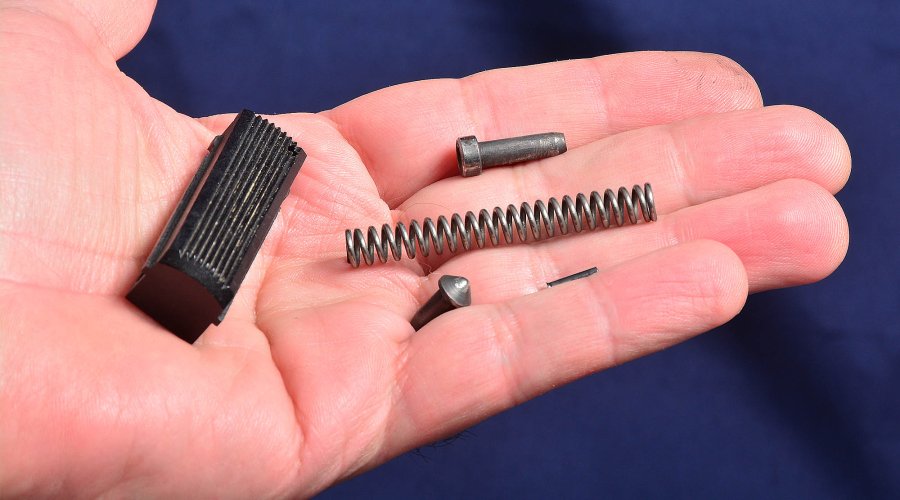
We can now remove the main spring housing; note the small pin that holds the mainspring and its cap and retainer in the housing.
There should be no need to further disassemble the mainspring housing, but for those who want to do so, please keep in mind that the main spring is very powerful and could shoot away with its cap. While removing the retaining pin, it is convenient to use a rag to wrap the assembly during the operation and intercept the mainspring and cap should they slip.
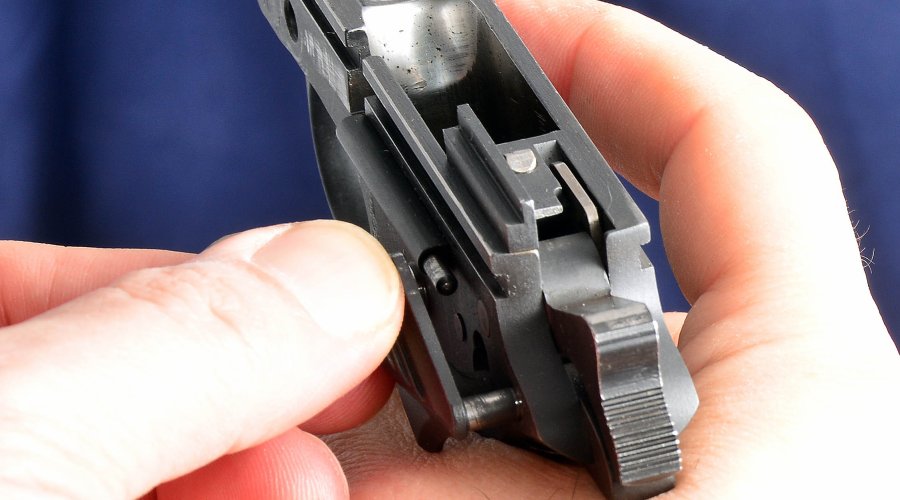
Now, let’s move on and remove the manual safety. To accomplish this the hammer must be cocked. Once we cocked the hammer, to remove the manual safety from the frame, the safety must be turned upwards and pulled out.
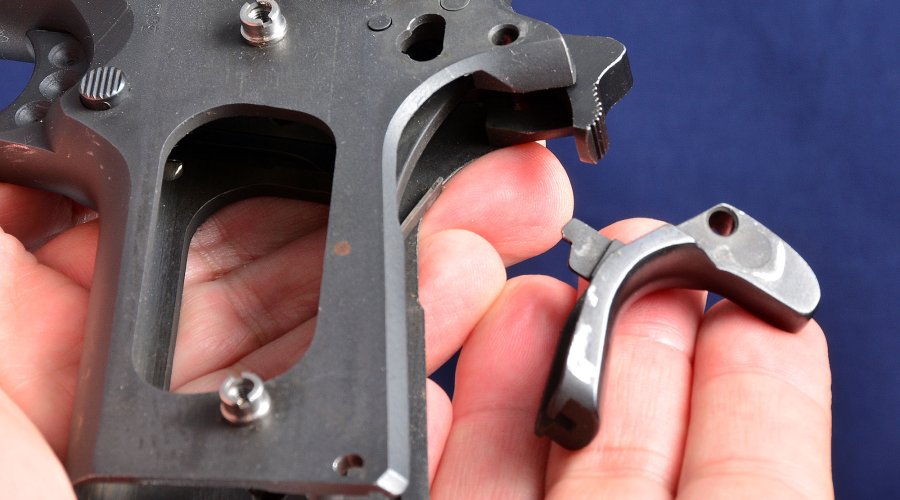
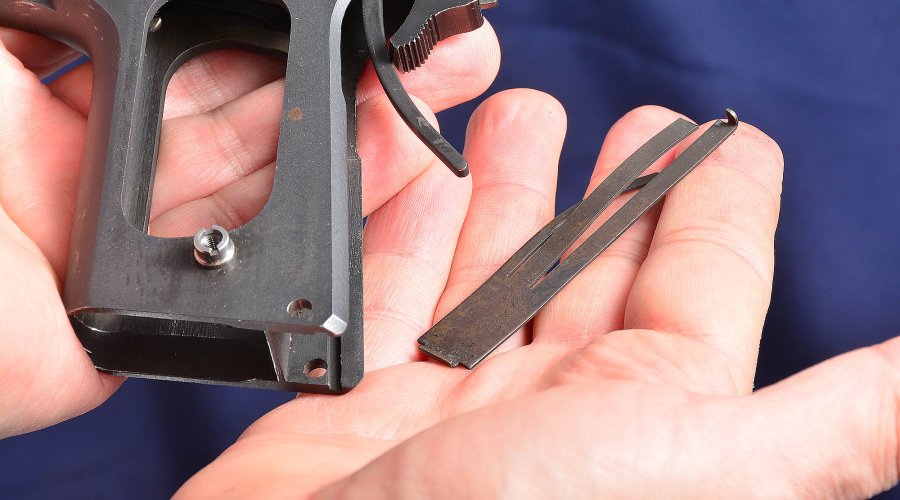
Removing the manual safety lever allows the grip safety to be removed, then the 3-prong Sear Spring that is used to spring load the sear, trigger and grip safety.
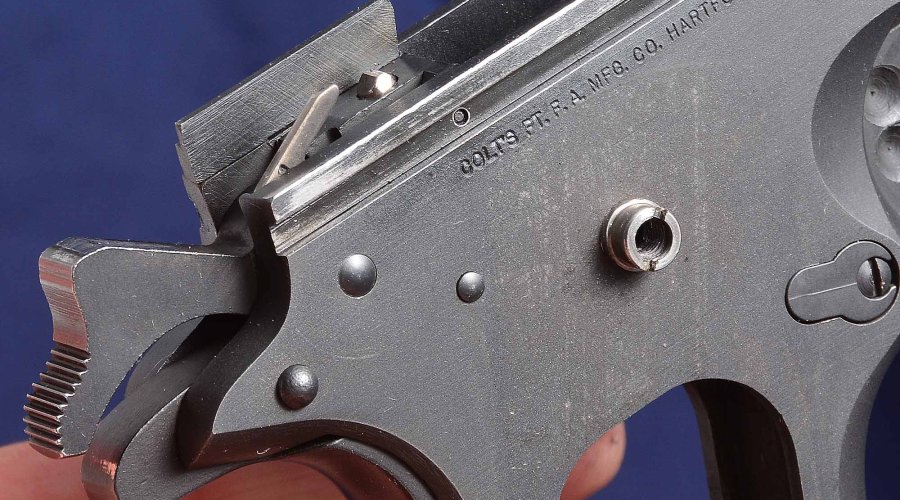
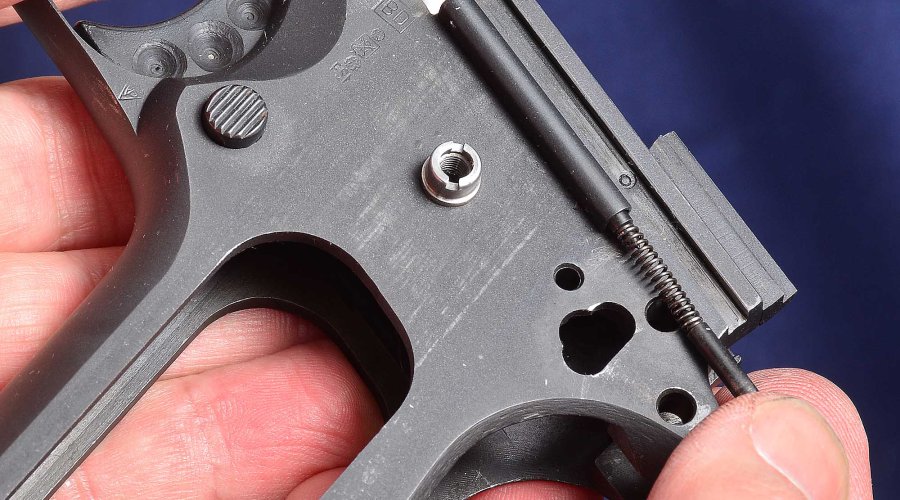
Removing the manual safety lever allows the grip safety to be removed, then the 3-prong Sear Spring that is used to spring load the sear, trigger and grip safety. Once the Grip Safety is pulled from the frame, we can proceed to pull out from the Plunger tube riveted to the frame, the Safety Lock Plunger, its spring and the Slide Release Plunger off.
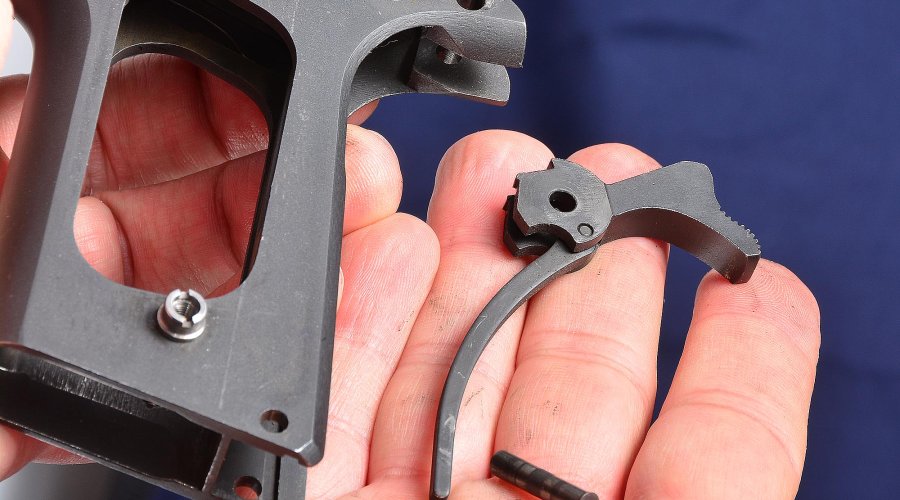
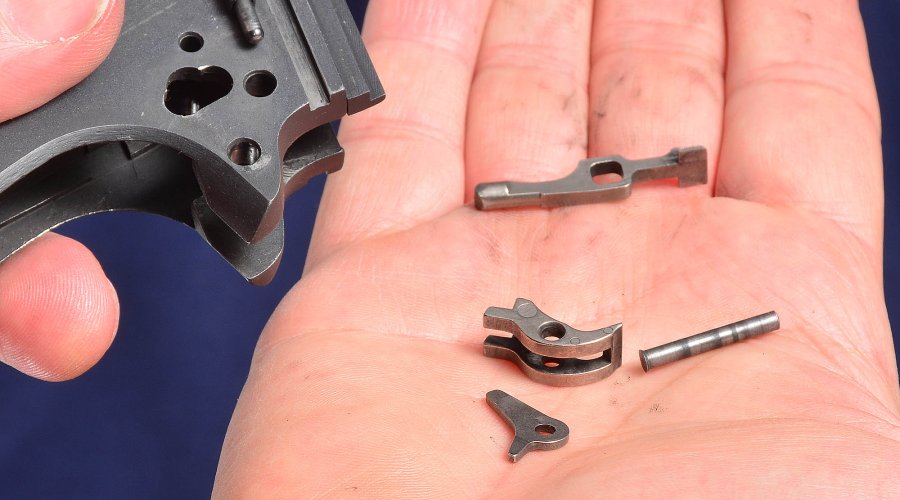
The Hammer Pin can be removed from the frame by pushing it from the right side to the left with a punch – it comes off easily, so push gently. The hammer will come off, together with its hammer strut. In those 1911 models that feature an automatic firing pin safety, such as our Series 80 gun, removing the hammer pin will also release the Upper Sear Lever.
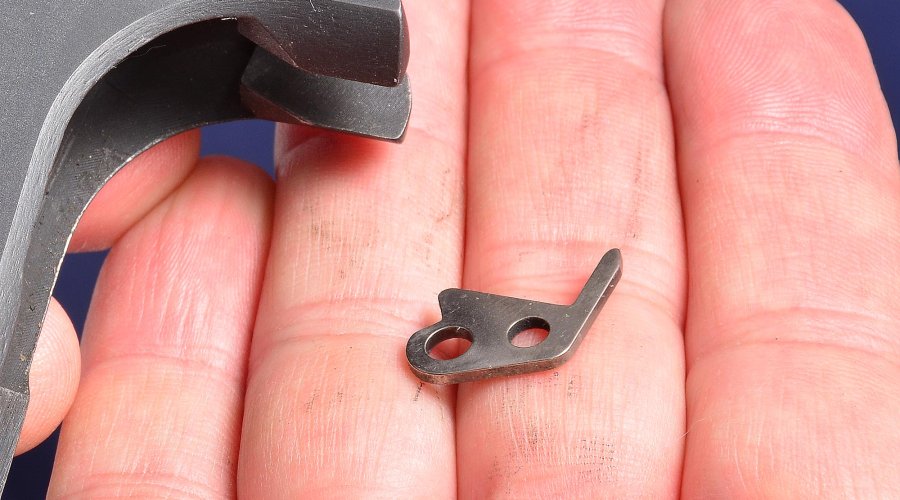
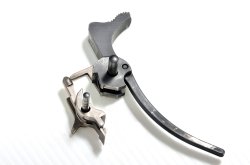
Again from the left side of the frame we can remove the pin that holds in place the Lower Sear Lever and Disconnector. Our gun is a Series 80, which features an automatic firing pin safety, so this operation also frees the small link lever which, together with the other lever next to the hammer, controls said safety.
We will allow these small pieces to fall into our hand, carefully tilting the frame once the sear pin has been removed. Make sure to use a suitably clean and uncluttered workbench for all disassembly operations.
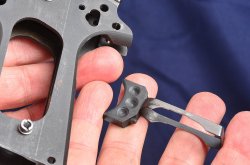
Remove the trigger, pulling it out of the frame from the rear.
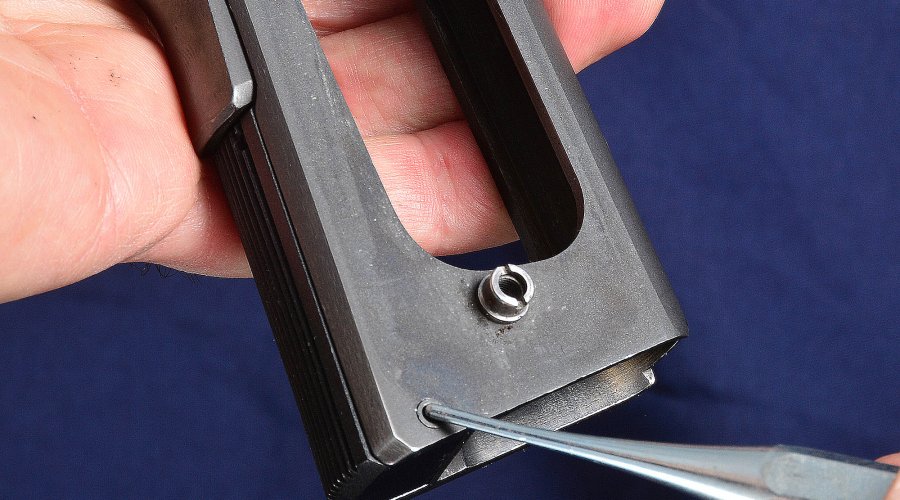
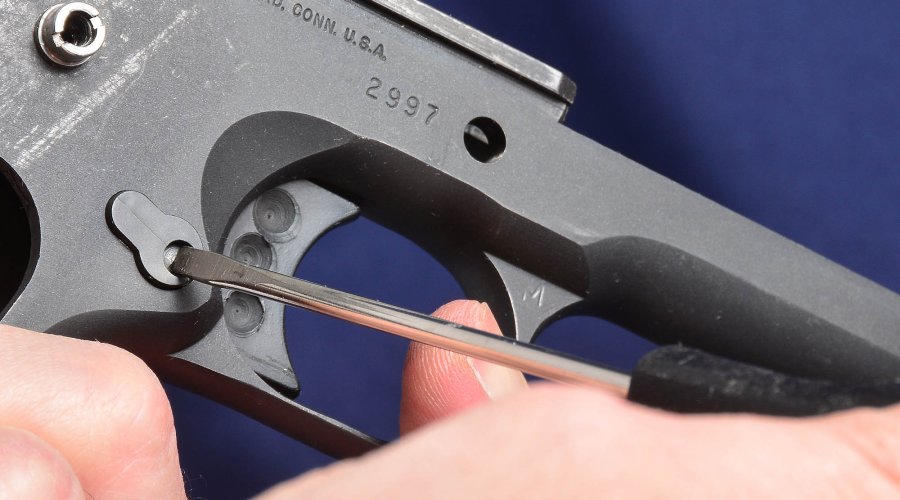
Disassembly ends with the removal of the Magazine Catch Assembly.
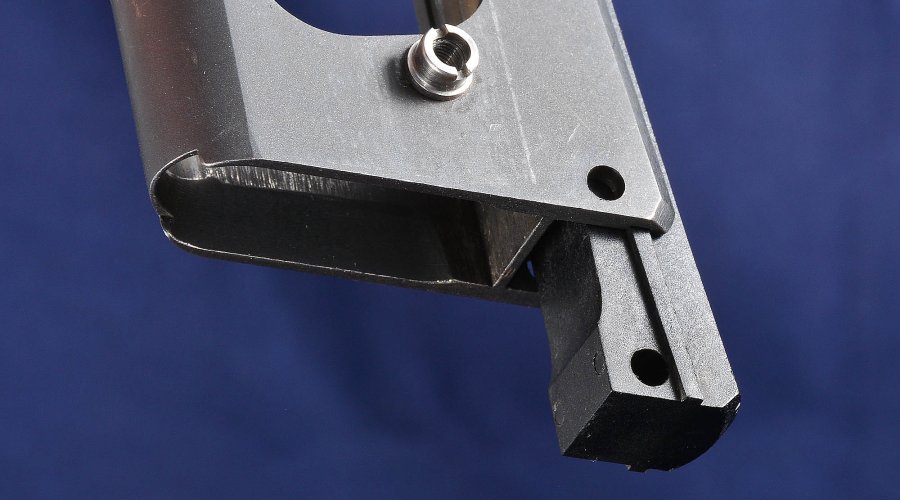
To remove it, we need a suitably sized screwdriver to turn the small slotted screw. Lightly press the Magazine Catch and turn the screw counter clockwise.
Knowing how to disassemble a firearm is useful to solve many problems with its operation or to replace worn parts, without having to resort to a gunsmith.
Reassembling the Colt 1911 Government is fairly easy, just repeat all steps in reverse, and never force fit if some part seems to not want to fall back in place.
Just be careful when reassembling the trigger parts and pins we have pictured outside the frame, in their respective position. Once the gun is fully reassembled, make sure that everything works, checking slide / barrel / frame operation, plus correct trigger and both manual and automatic safeties operation.


