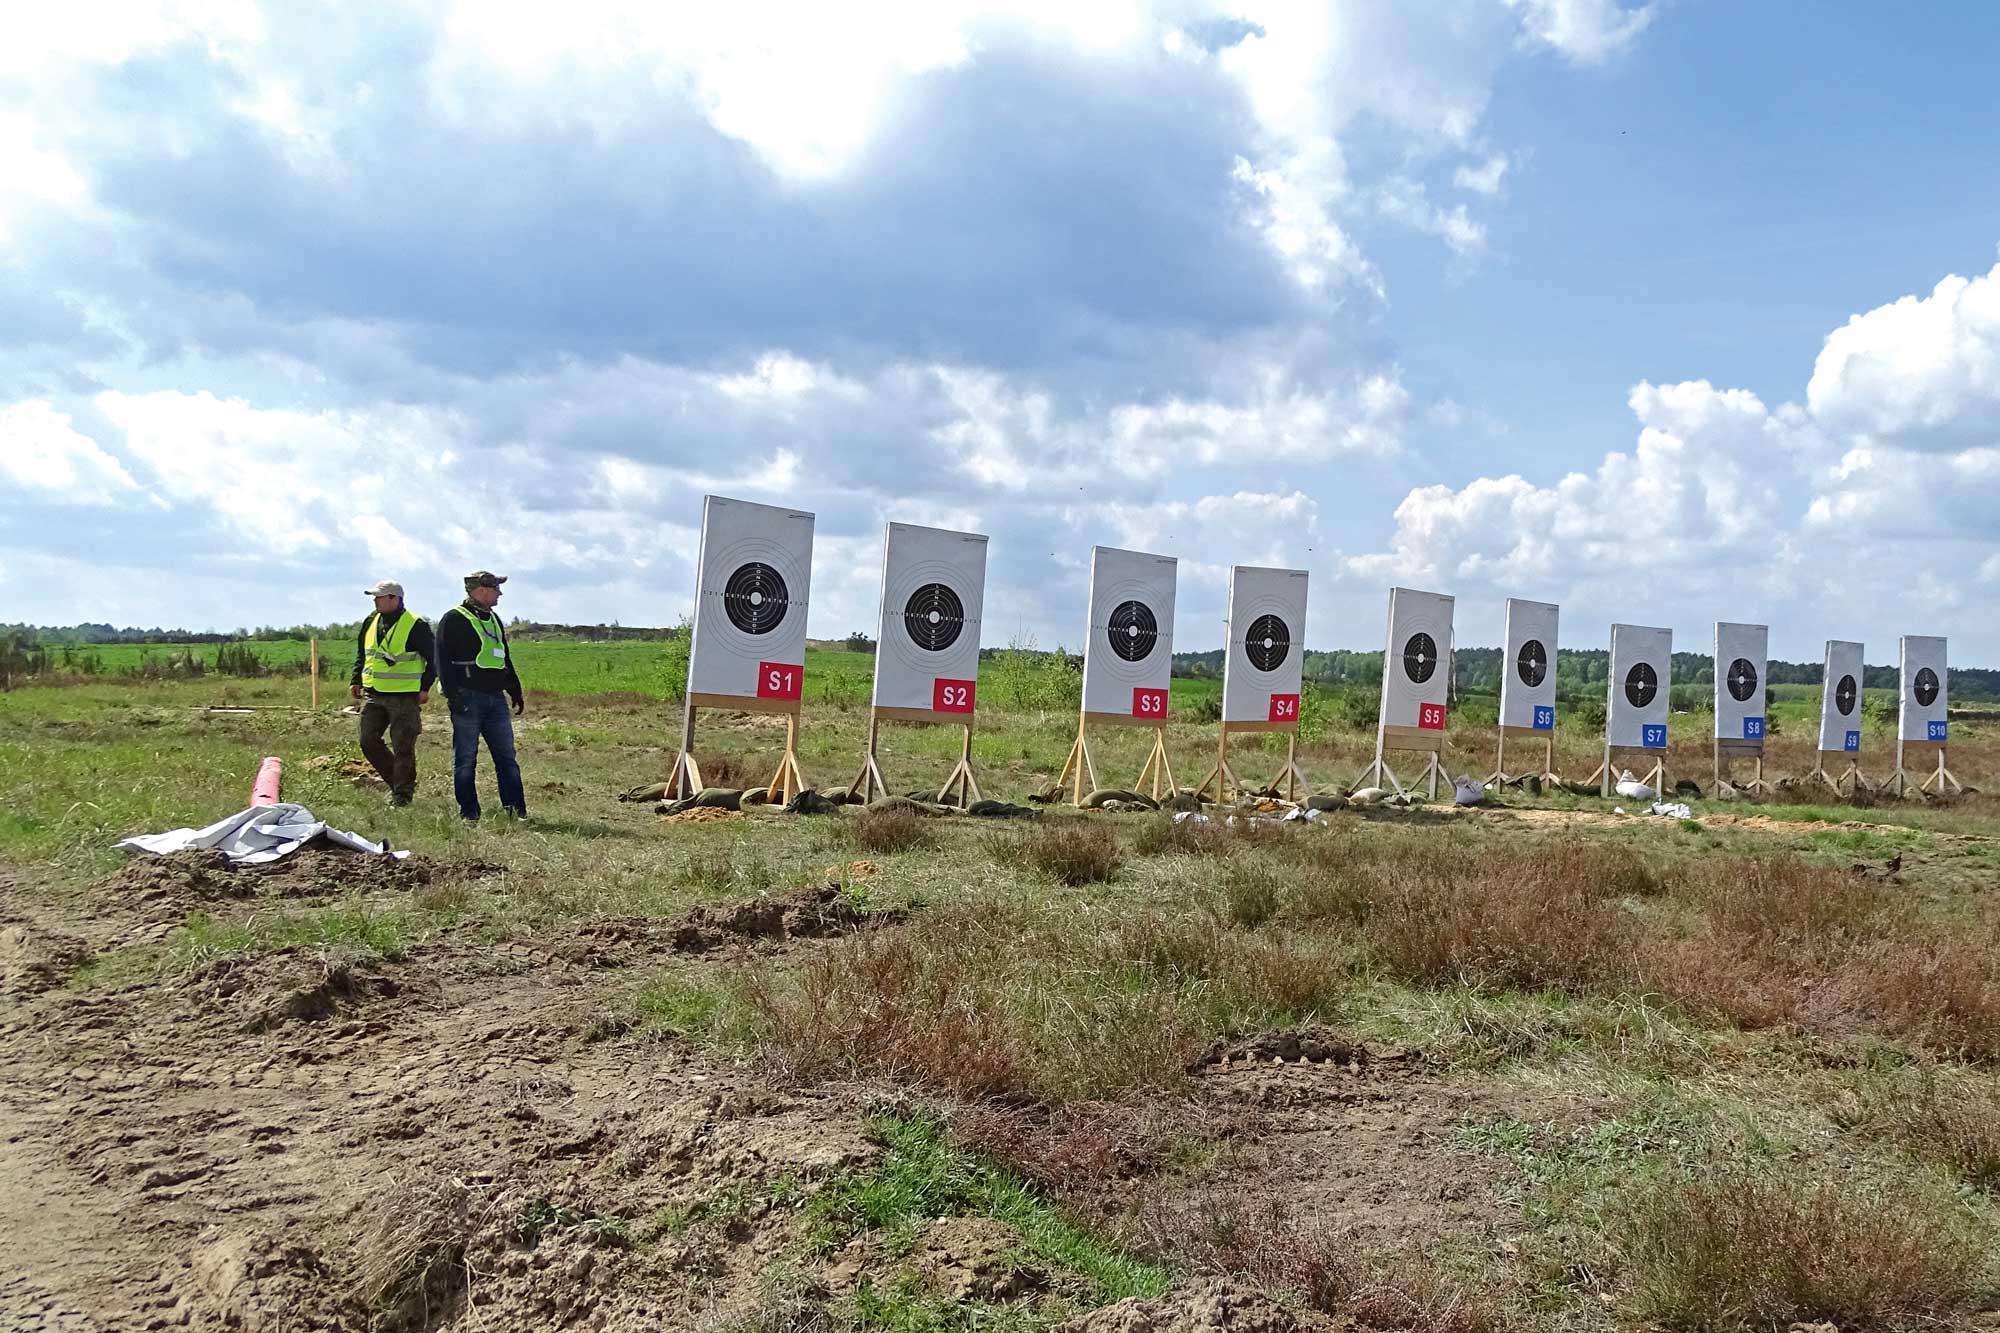
Common sense would require cleaning to be carried out after each use, followed by lubrication of barrels and trigger, moving parts and firing pins. Minimal, in case of hunting in hot, dry climates and when few shots are fired. More massive and deeper in case of rain or humidity, or when you may have pulled the trigger over and over again.
Yet all too often, a quick wiping is all that our guns get!
Few are those who, at the end of the season, devote themselves to a deep cleaning before storing their guns away until the next hunting season. This should be done thoroughly and for real, anyway.
A far widespread habit, however, is to leave the gun in its case, promising to clean it tomorrow... and tomorrow... and tomorrow... Until caught in the maelstrom of everyday life, you just forget about it!
And then it happens to find rusty surfaces (gun cases favor condensation), mechanisms that don't work well, encrusted or – worse – eroded barrels that produce bad groupings or even swell or crack (burnt powder residues damage barrels, and lead can stick to the inner walls, especially if you use cartridges with no cups). In short, all sorts of troubles, from the slightest aesthetical problems to the most serious malfunctions. And yes – they can all be prevented: all you need is elbow grease, a minimum of attitude and a lot of care and attention. In short, you have to clean your guns properly!
Now we will show you how to do with what all hunters have or must have as minimal cleaning equipment, to which normal household tools are added.
Let's start with break-action shotguns…
Materials and equipment for easy and effective gun cleaning
First of all, set up your workbench outdoors, or in a place where more than likely drops of oil and sludge will not make a mess (you should avoid the kitchen or living room, especially if you are living together or you're married!). For those who have a dedicated workshop-like space, no problem…
- A workbench made of plastic or a material that will not damage the gun's parts in the event of a hard contact.
- An old towel to be laid on the workbench.
- A good shoe brush.
- An old, clean and dry toothbrush.
- Kitchen paper in rolls.
- A microfiber cloth like those used for cleaning glass. Better if new, but a used one is fine too, as long as it's clean and dry.
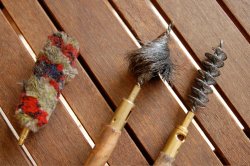
- Brushes of the appropriate gauge.
- Gun lubricant or multi-purpose lubricant (Svitol or similar products – or sewing machine oils, if you can still find them), available in any hardware store. In case, diesel is a good substitute.
- Gun cleaner (this can be ordered online without any problem, and even in lockdown times you can find it).
Of course, a thorough cleaning would also involve an air blow gun and the disassembly of some parts, but for this you'd better go to the gunsmith's.
Shotguns: disassembly before the cleaning starts

The first thing to do is to double-check that the shotgun chambers are empty! No, I don't give a damn if you think "I didn't leave any cartridges in there anyway...". Believe me, graveyards contain many a tombstone of those who were sure about that!
Having done this necessary operation, then remove ALL the carrying slings from your guns. They should be actually removed on the last day of hunting, but if we haven't done that yet, well, remove them now.
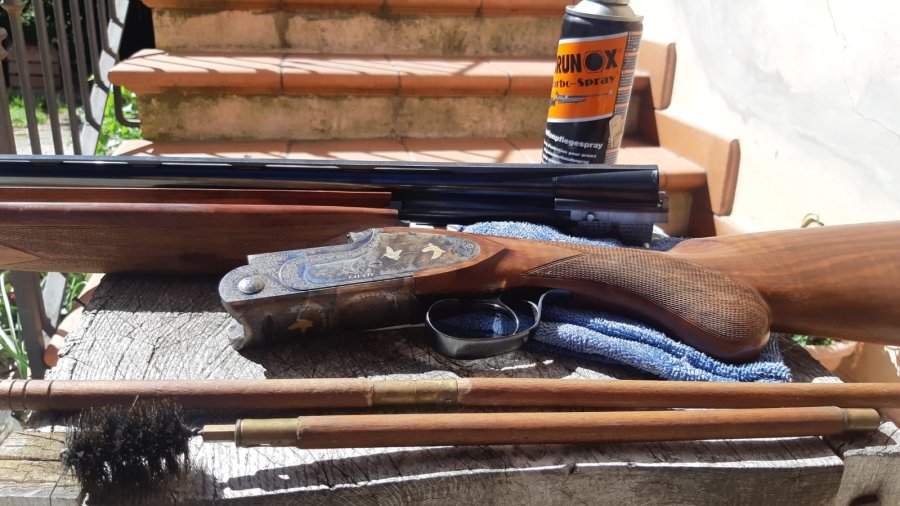
Then, disassemble your side-by-side or over/under shotgun in its three basic assemblies. Do that calmly and gently, without making the parts bump or scratch one with the other.
You'll have a forend, two barrels with chambers, and a receiver complete with stock, trigger and locks.
Piece by piece - what to do before you clean your shotgun
Forend: give it a nice and energetic brushing with a bit of diesel or gun cleaner. Brush any crevices and the mechanisms over and over with the toothbrush, then rinse with some diesel or cleaner, brush again with the toothbrush and remove any particle that's still visible. Clean with paper and microfiber cloth, then lubricate generously and thoroughly and quickly remove the excess. That's done.
Stock and receiver: proceed as above, paying great attention in this case to the trigger (clean it well with a toothbrush and gun cleaner, then oil everything), trigger guard and all the receiver mechanisms.
Barrels and chambers (as well as ejectors, if present): holding the barrels with a cloth, carefully brush them with a dry brush of the proper gauge, until you feel it's moving smoothly along the barrel. Are you convinced it's smooth enough? Do it again. At this point spray some cleaner (or diesel) inside the barrels, then force some paper cylinders into the barrels, and push them with the brush rod until they come out of the muzzle. Repeat until they come out clean. Spray a veil of oil into the barrel, and dry the excess with another paper cylinder. Check that the chrome lining is shiny.
Reassembly and storage of your cleaned shotgun
Those who have a dedicated and suitable room can keep the gun disassembled in a case (if any), with all the parts in its specific compartments.
For all the others, if you take care when reassembling it – without forcing the forend or some other Western movie nonsense – just handle the gun with a cloth soaked in oil and put it in the safe or in the cabinet for its well-earned rest.


