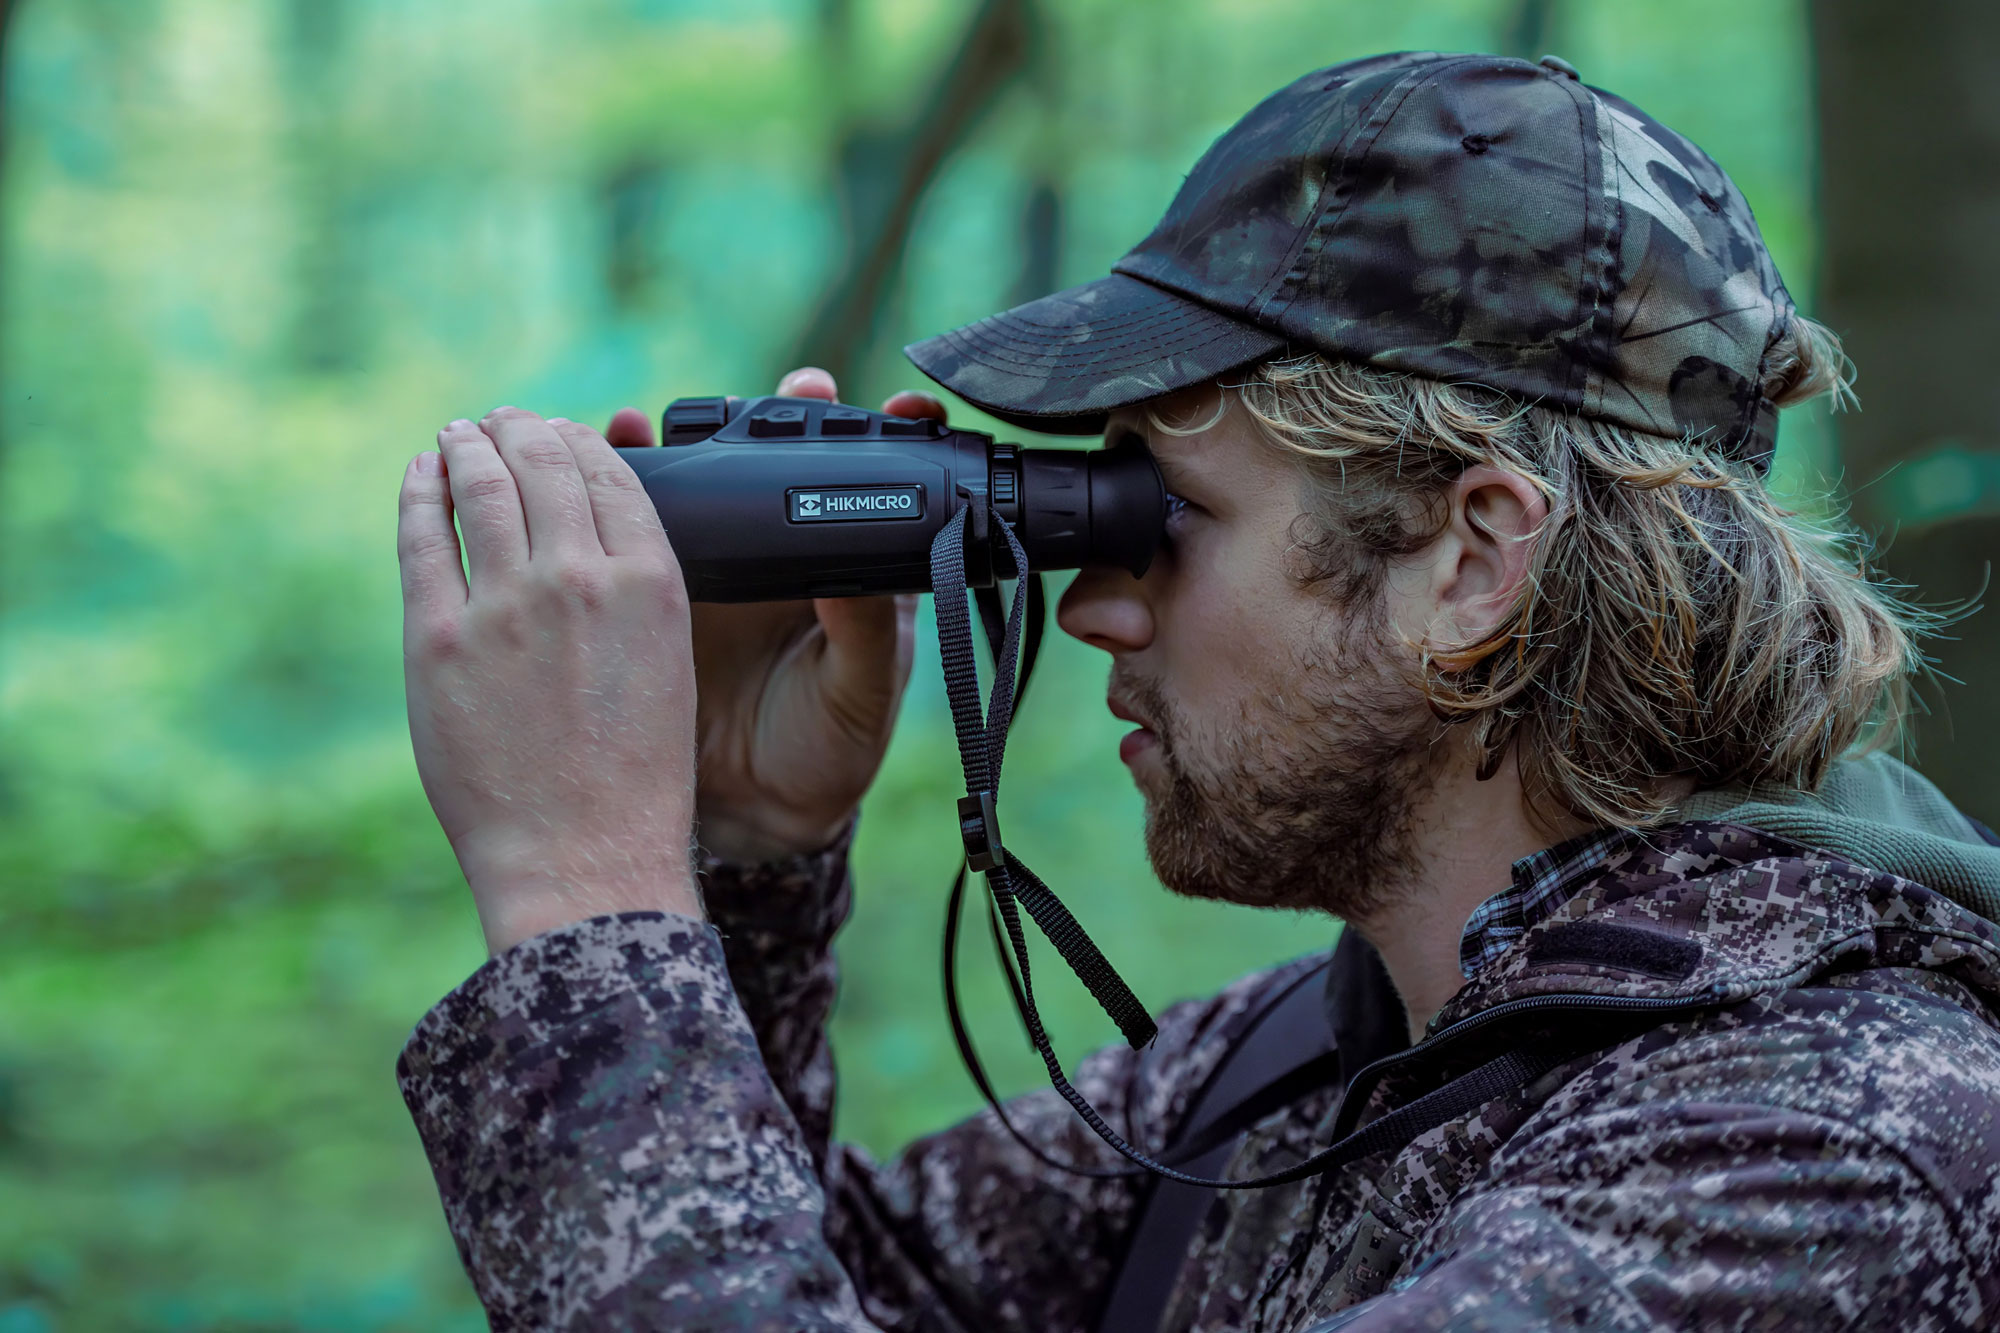
We have put together 10 points, which you should definitely consider when buying a thermal imaging camera. In addition, you will find a video with a host of suggestion on buying thermal imaging cameras from Mathias Haack, our Pro Video Operator, who has researched the whole topic from a practical point of view. This is not intended to replace detailed purchase advice, but to provide you with initial hints of what you should pay attention to when buying a thermal imaging camera.
Before we start with our 10 tips, we would like to point out that before you go out and buy a thermal imaging camera, you should of course take a close look at your personal situation in regards to hunting. Because if you do this as a first step, the search for the right thermal camera will be much easier for you.
Similar to buying a photo or video camera, over 90% of users do not need super-expensive equipment to take good pictures. As a rule, this means that for most applications, a camera kit with a standard zoom is quite adequate for most cases. The few thousand euros that you save not buying expensive lenses can be sensibly planned for the next holiday. That's roughly the same with the purchase of a thermal imaging camera for hunting use. Since most hunters have only been getting into this technology for a short time, it is not surprising that you often hear of classic mispurchases. So that this does not happen to you, here are our 10 tips for buying a thermal imaging camera.
As already mentioned above, the first step is an exact analysis of your own hunting activity. Do you hunt several times a year? Do you hunt in fields, woods, or a combination of the two? How much do you appreciate the benefits of new thermal imaging technology? Questions over questions – but believe us, it is worth questioning, because you have already done half the work of finding the right thermal imaging camera.
all4hunters.com exclusive: the 10 most important points when buying a thermal imaging camera
Point 1: Field of view
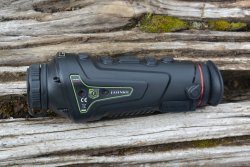
The first thing you should look out for when buying a thermal imaging camera is the field of view. Simply put, the larger the field of view, the better it is for you. When buying a thermal imaging camera you should look for this information in the manufacturer's specifications: field of view is 11x8° or 18x13°. So please remember: a large field of view is good, but usually means that the selected thermal imaging device will be more expensive than a device with a smaller field of view. A large field of view is suitable for example in an area where there are many open spaces that are broken by thickets and forest islands.
With a large field of view the game will not jump out of focus so quickly. Here is a rule of thumb for you: if you find the indication 11x8° in this form and want to know how wide the field of view is at 100 meters, then simply calculate 11° for the width multiplied by the factor 17.45. This results in a field of view of 191.95 meters at 1,000 meters. Divide this value by 10 and you will have a field of view of 19.195 meters at 100 meters, i.e. about 20 meters from the right to the left edge of the screen.
Point 2: Resolution and pixel size
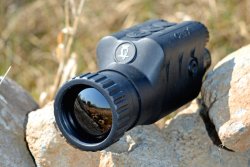
The second point to pay attention to is the sensor size. As of summer 2020, 400x300 pixels is a good value for a decent sensor. There are thermal imaging devices that work with larger sensors (e.g. 640x480 pixels). Also here, remember: the bigger the sensor, the better for the user. Large sensors, similar to the one used in photography, mean higher price. Please keep in mind that once you have made a proper assessment of your hunting activity, the question of the right sensor size will be solved by itself. The second point you should pay attention to is the pixel size of the sensor. Again, large pixels are good, but usually cost more. You can find the information for the pixel size in this form: 17μm or 15μm. Another point to pay attention to is the type designation of the sensor. As of summer 2020, VOx sensors are the measure of all things. Here is a look into the future. We believe that the further development of thermal imaging devices will be directly related to the size of sensors. It can be assumed that similar to computers, where processors became faster and more powerful, the sensor size will be of decisive importance for thermal imaging devices.
Point 3: Wavelength
The third point that you should pay attention to when buying thermal imaging devices is this manufacturer's information: Spectral Range! This is all about wavelength. This value should be very large in the technical specifications. The larger the covered range, the better the thermal imaging camera works. Actually, you don't have to remember more about this point. So: a large wavelength value is good.
Point 4: Calibration time
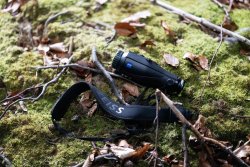
Point 4 on thermal imaging equipment purchasing advice is about speed. Please note: we're talking about thermal-imaging calibration time. This value should be as short, as small as possible. During the calibration of thermal imaging devices, the image freezes for a short moment. Before the image is back again, a piece of game that was in sight may have jumped away. This is why it is always an advantage to have a short calibration time with the selected thermal imaging camera. In our test this year, for example, the Jahnke Thermal II had a calibration time of 0.588 seconds. This is quite fast, unlike other devices with up to 2 seconds calibration time. The calibration noise should be very quiet – you should also pay attention to that.
Point 5: Display size
Point 5 to be taken into consideration for a thermal imaging device purchase advice is the size of the display of the thermal imaging camera. Please remember this again: bigger is better. A smaller display puts more strain on your eyes, so it is not advisable to use a display that is too small. Another point about the display is the possibility to adjust brightness. It is often the case that if you set the display to 100% brightness, it can be extremely stressful for your eyes in a dark night. If possible, please always set the display brightness to a value of 10-30%. The display size should offer at least 1,000 pixels in width. Even better, in 2020 displays size is 1280x960 pixels.
Point 6: Lenses
The lenses take the picture. First of all, it must be mentioned that the lenses of thermal imaging cameras are not made of glass but of special crystals. In the lenses mm measure, you often find the 25 mm, 35 mm and 50 mm. A 50 mm optic offers a narrow field of view (see telephoto focal length in photography), a 25 mm lens can be understood as a wide-angle optic. The field of view of a 25 mm is of course much wider than a 50 mm. If you choose the golden mean (35mm), you can't go wrong from our point of view. But even here the decision is based on your own hunting standards.
Point 7: Thermal sensitivity
Let's move on to point 7 and thus to "NETD". You should remember this abbreviation, because it stands for "thermal sensitivity". Please look for this value in the product description: "NETD ≤50mk" – or similar values. Please note that the value should be very small. The smaller the value, the more sensitive the thermal imaging camera is. The smaller the value, the finer temperature differences your future camera can analyze and display.
Point 8: Battery
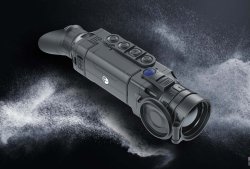
Which brings us to item 8. This is about the battery. Today, most thermal imaging devices offer a good to very good battery performance. Normal on average are values of 3-5 hours battery life for almost all thermal imaging cameras offered today. The rule applies here too: longer battery life is better. You should have a battery management system to ensure that your thermal imager works reliably. You should know that there are two technically different possibilities concerning batteries. Fixed or so-called exchangeable batteries. In the case of fixed systems, you should always make sure that you switch off the standby mode when you come out of a raised cover – in this way, 2-3 raised covers can be done with one battery charge. If you forget to switch off the standby mode, it can quickly happen that you are standing in the bush without any power. With the exchangeable batteries always make sure that you have a charged replacement at hand. Then nothing will go wrong.
Point 9: Data transfer
This is about the easiest and most stable data transfer from the thermal imaging device to other devices. It can actually only be said that you should follow the manufacturer's instructions and use the respective app for the data download. Tip: please, pay attention to an intuitive and fast way to provide the data for analysis. Everything should be self-explanatory as this is the only way to access data quickly and share it with others via smartphone, for example.
Point 10: Game identification
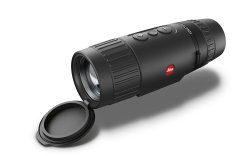
With this we have already come to the end of our little purchase advice regarding thermal imaging devices. It's about the responsible handling of this technology. Safe game identification is certainly easier for experienced hunters than for a young hunter. Nevertheless, we would like to point out again that thermal imaging technology also has its limits. As an alternative, devices with residual light amplifiers – i.e. classic night vision devices – are available. But this type of device is not the subject of this purchase advice.
With thermal imaging devices a safe identification is quite possible under certain conditions and range. You can say that the shorter the distance to the game, a more reliable identification is achieved. Please always remember that thermal imaging technology quickly reaches its limits, especially with regard to bullet over-penetration and "invisible" fine structures such as branches in front of free-standing game. Therefore, safety first always applies.
We have developed a formula from this article for buying a thermal imaging camera based on these 10 points:
Our summary of the selection criteria for the thermal imaging device best suited to your needs:
- Point 1. Field of view must be large
- Point 2. Sensor must be large
- Point 3. Spectral Range must be large
- Point 4. Calibration must be short and fast
- Point 5. Display must be large
- Point 6. Objective – The golden mean is good
- Point 7. NETD must be small
- Point 8. Battery should last a long time
- Point 9. Data/APP the transfer should be easy
- Point 10. Identification – Safety always comes first
And now we wish you a lot of fun with the selection of your new thermal imaging camera. Prices start at approx. 1500 euro and go up to 8000 euro. First, think about how much you can and want to spend, then get advice from your local dealer, where well-trained specialists will usually help you – or take advantage of the offers and special conditions, including financing, on the manufacturers' websites.
The questions of all questions: night vision or thermal imaging equipment?
Whether thermal imaging or night vision is the right technology for you depends on several factors. Night vision attachments (added to a target optic) are subject to legal restrictions in some countries. A special permit may be required for mounting or the device may only be used for hunting abroad. Night vision is the first choice in combination with a target optic. The level of detail of the image, accuracy and representation of the surroundings are best suited for addressing the target.
Thermal imaging devices are usually not legally restricted as handheld devices. They are suitable for searching the hunting ground for game and identify even the smallest heat sources with ease. In addition, the devices can also be used safely during the day and make animals in the undergrowth visible. If you are looking for an observation device, thermal imaging cameras are a good buy in any case.
Further information – certainly also about our 10 points – can be found on the websites of the manufacturers we have selected:


